
What a Shed Slab Costs in Bendigo (and What Moves the Price)
If you’ve just ordered a kit shed and started ringing around to get a shed slab price in Bendigo, you’ve probably already noticed the numbers don’t line up. Two blokes with the same shed can get very different quotes — and neither one’s been ripped off. Here’s what actually moves the number, from a Bendigo concreter with 23 years on the tools.
By Leigh Whyte Concreting
Published August 2026
Reading time 9 min
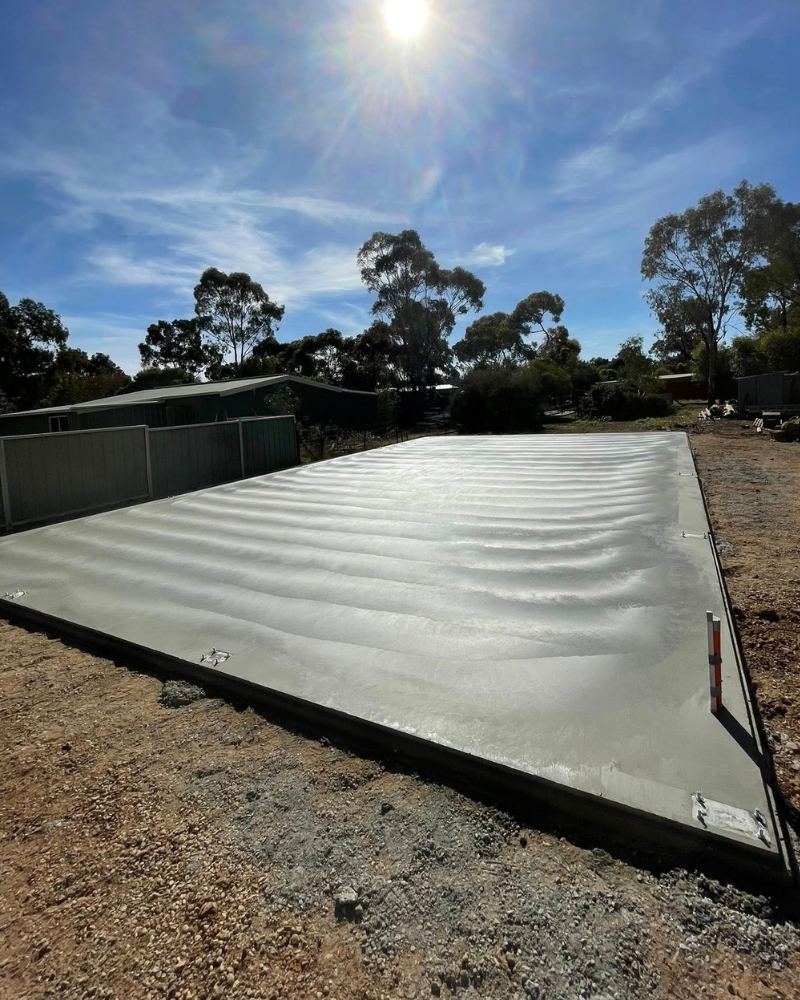
How much does a shed slab cost in Bendigo?
Shed slab cost in Bendigo isn’t one number — it’s a range, and where you land in it comes down less to the concrete than to what’s underneath. The slab itself is the easy part. What moves the price is the ground under it, the site prep to get that ground level and drained, and what your shed’s engineering sheet says the footings and thickness need to be.
Two homeowners with the same 9m x 6m kit shed on the same street can end up paying very different numbers — and neither has been overcharged. It’s the block, the brand of shed, and the access that write the quote.
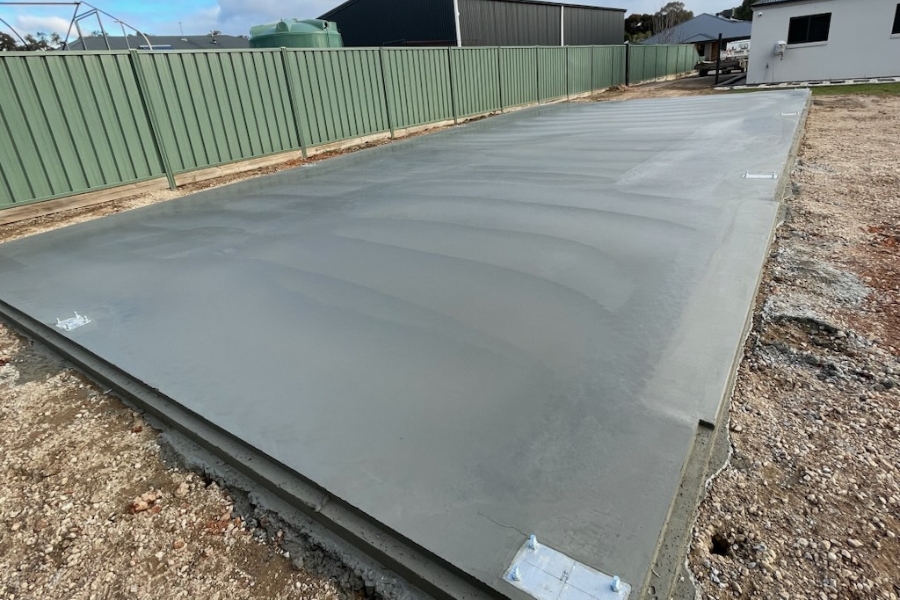
The truth is there isn’t a single going rate. Anyone quoting a firm number over the phone — without asking about your block and your shed brand — is either guessing or leaving something out.
Kit sheds are engineered to different standards, and the difference is bigger than most buyers expect. A Safety Steel kit typically calls for footings around 700mm deep at 450mm diameter — the steady, everyday spec. A Best Sheds kit for a bigger portal-frame build can call for footings a metre to 1.5 metres deep. Same footprint, very different job underground. That one difference on the spec sheet can meaningfully shift the total before you even factor in the block.
The rest of the range comes from the site: whether the ground needs cutting, filling, or both; how far a concrete truck can actually get in; and whether your patch of Bendigo has the hard ground that needs breaking out to hit footing depth.
You can see how we approach a shed slab as one job — earthworks, footings, pour and finish — on the shed slabs and site prep service page. (A companion pillar guide on concrete footings and proper site preparation is coming as part of this series.)
What changes the price of your shed slab
Three things swing the number more than anything else: the size of the shed, what the block needs before we can pour, and the engineering spec that came with your kit.
1. Slab size and shed footprint
The bigger the shed, the more concrete — that part’s obvious. Less obvious is that a bigger footprint usually means bigger footings, more mesh, and more site to prepare. A double-garage-sized slab isn’t just twice a single garage’s price. There’s more perimeter, more edging, more fall to plan across, and a larger area to keep dead-level.
Shape and position on the block matter too. A long, narrow shed running across the fall of a sloping block creates more earthworks than the same square metres set square to the natural contour. Where the shed sits determines how much dirt has to move.
The shed’s post spacing then dictates the footing count. More posts means more holes to auger, and each hole has to hit the depth on your engineering sheet. Send us the size, the plans, and the shed brand up front and half these questions get answered before we come out.
2. Site prep and the site cut
This is where the range on shed slab cost really opens up. Most Bendigo blocks aren’t as flat as they look.
"People think it's flat — but until we set up a laser level, it's not flat."
— Leigh Whyte
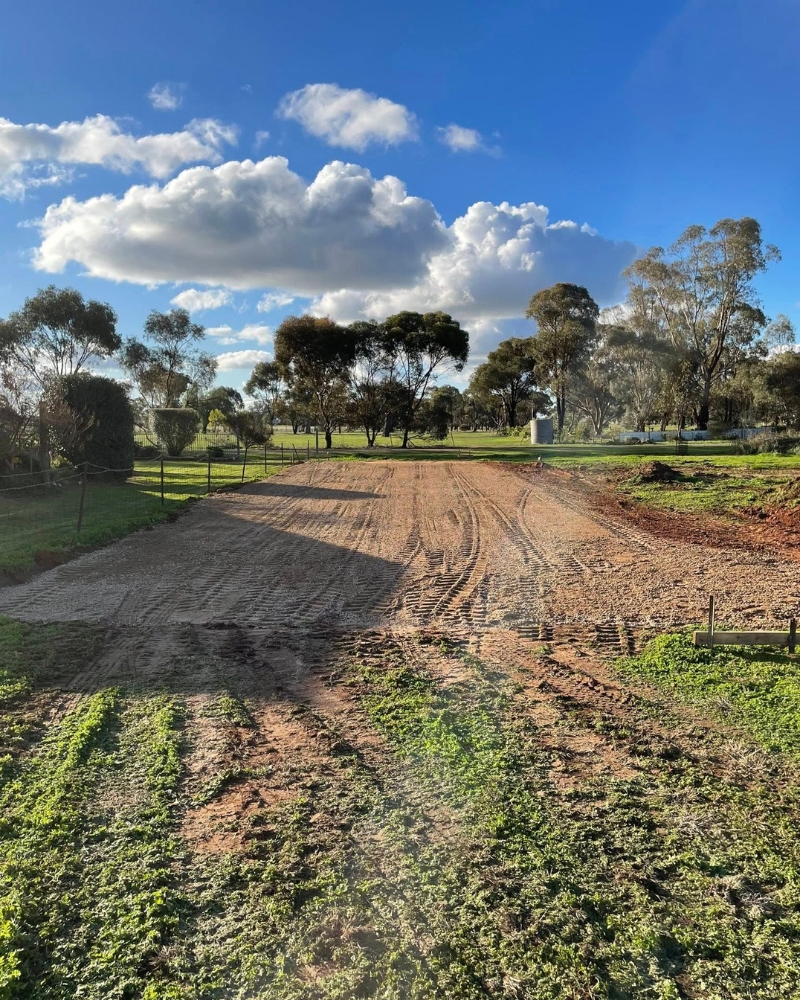
There are usually two ways to handle a sloping or uneven block. You either cut into it — stripping topsoil, digging into the high side and using the fill to build up the low side — or you lift the site with crushed rock, sometimes two loads instead of one, to bring it up level and keep it above stormwater. Both are legitimate approaches; which one suits your block depends on the fall, the soil and where the water wants to go. On site, we work that out with you.
Then there’s the ground itself. Some parts of Bendigo are hard. If the auger hits rock in a footing hole, the jackhammer comes out to break it up before we can finish the hole. That’s time and effort no one can predict from a Google Maps look.
Access matters as much as anything else. If a concrete truck can’t get in, we pump the concrete — which the customer wears as an extra — or the crew barrows it. In winter, a bit of crushed rock down for firm truck access saves hours of stuck vehicles and a much bigger mess.
3. Footings, thickness and the engineering spec
Every kit shed comes with an engineering sheet, and that sheet dictates the job. It sets the concrete slab for shed thickness, the mesh grade, the footing depth and diameter, and the way the shed ties down to the concrete — steel stirrups cast into the slab (typical Safety Steel setup) or L-brackets with dyna bolts (typical Best Sheds setup). The shed supplier usually only releases that sheet once you’ve paid in full for the kit.
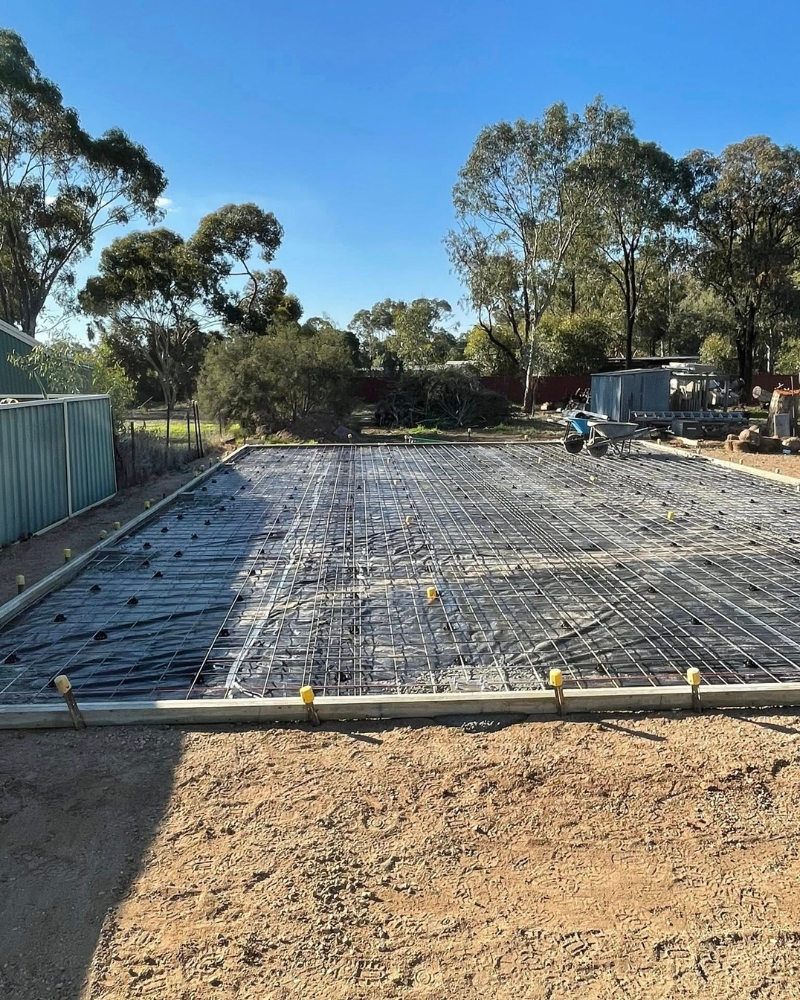
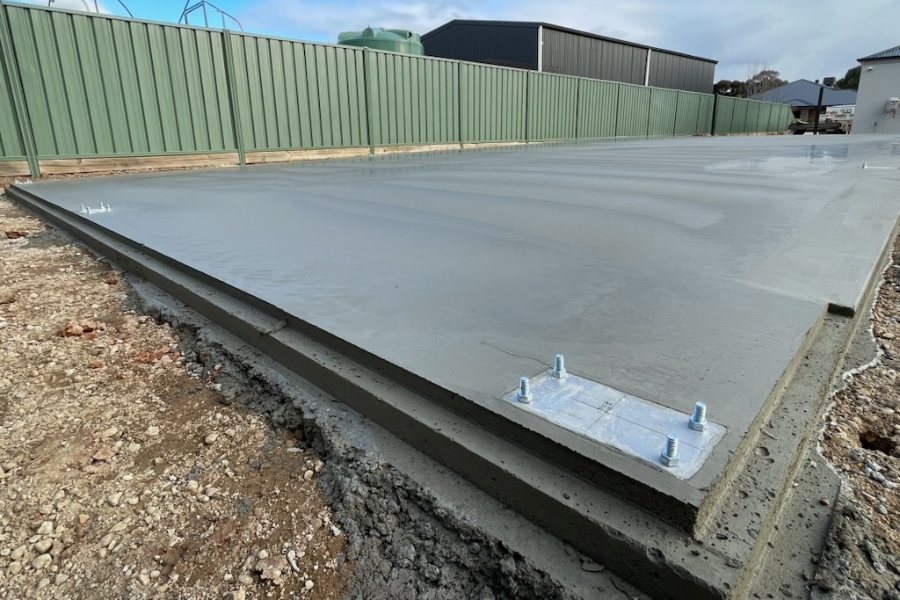
Two things on that sheet move the price. First, deeper footings mean more augering, more concrete in the ground, and more time on the machine. Second, the tie-down system dictates part of the pour itself — stirrups have to sit exactly right before the concrete goes in, and getting that wrong is a fix job later. (A separate guide on how thick a shed slab should be — mesh, MPa and thickness by shed brand — is coming as part of this series.)
A quote based on the wrong spec — or on no spec at all — is where slabs later crack, footings prove too shallow, or the shed builder can’t tie down properly. Reading the engineering sheet before quoting is what stops all three.
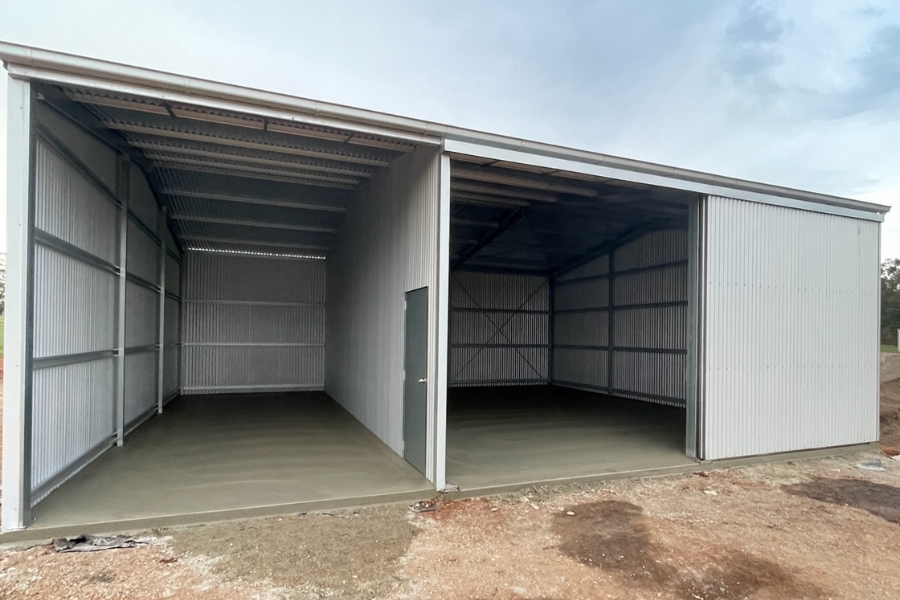
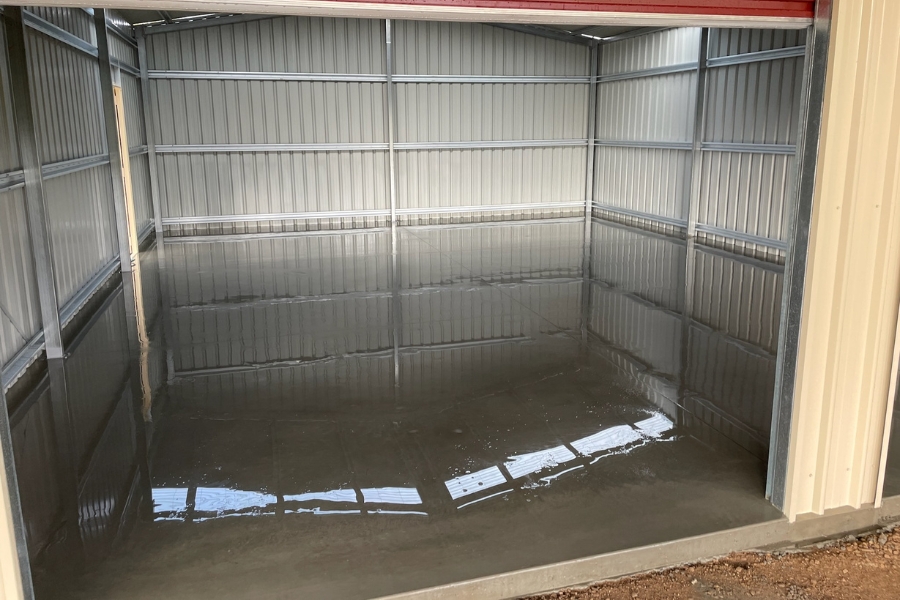
Nine times out of ten, we cast a rebate around the perimeter of a shed slab. It’s the step you can see in the close-up above — the wall iron sits down into it, giving a clean finish inside and out and closing off the daylight gap that vermin come through. Skip the rebate and you’re either living with the gap or buying flashings to seal it later.
"Nine times out of ten, I'll put a rebate around the shed to vermin-proof it. The iron sits down on the rebate — gives a really nice finish from the inside and the outside."
— Leigh Whyte
Garden shed slab cost vs a proper kit-shed slab
Not every shed slab is worth pouring as a standalone job.
If you’ve bought a small garden shed from a hardware store — a 2m x 2m tin box for the mower — a full site-prep-and-slab pour isn’t really the right fit. Trucks, augers, mixers and finishing crew all cost the same to bring out for a small pour as a big one, so a standalone garden shed slab cost per square metre looks eye-watering next to a proper build.
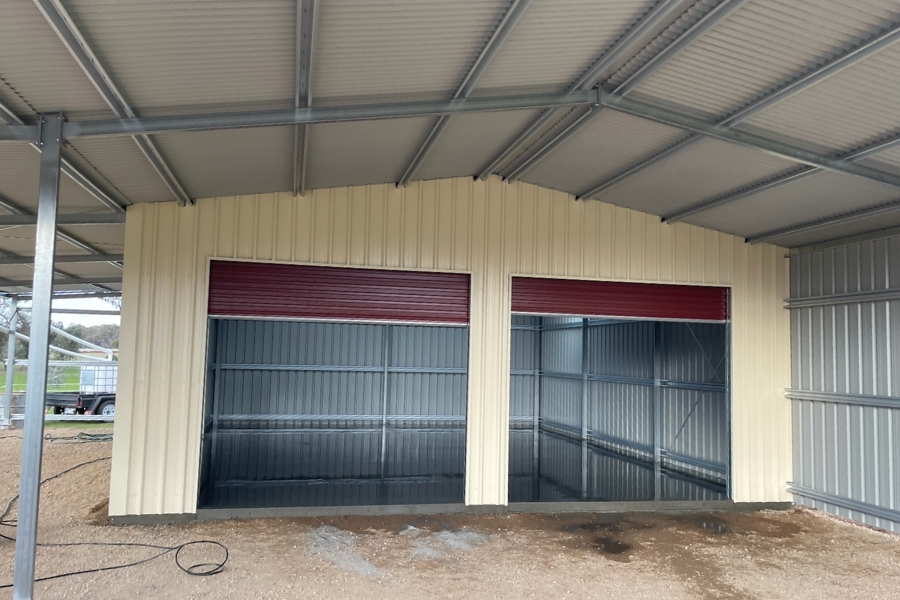
Where a small slab does make sense is as part of a bigger project. Some jobs include a driveway crossover, paths around the house, and an alfresco — with a small 3.2m x 3.2m shed slab tucked in the back corner too. When the machines are already on site, it makes sense to pour that in with the rest.
For a standalone hobby-shed slab, a paver base or a smaller operator is often the better call. Our lane is proper kit sheds — the Best Sheds, Safety Steel, Total Span, Central Steel Build and Fair Dinkum builds — where the engineering, the site prep and the finish all matter, and we can handle the whole job from earthworks to final pour.
How to get a straight quote on a shed slab
Once you’ve paid for your kit shed, ask the supplier to send you the engineering sheet. It’ll show your footing spec, your slab thickness and your tie-down system. Send that through to us, along with a couple of photos of the block, the size and position of the shed, and a note on access — how tight is the side path? Can a tipper truck get in?
The engineering sheet
from the shed supplier (usually released once the kit's paid in full).
The shed size and brand
a 6x6 Safety Steel and a 6x6 Best Sheds are very different jobs underground.
A couple of photos
the block, the intended shed spot, and any tight access.
A note on timing
when the shed's due, and whether the builder's flexible on the pour date.
We’ll quote on a flat, level site with good access as a baseline. If your block matches that description, the quote holds. If it doesn’t — say we need to cut a metre off the high side, or the trucks can’t get in and we need to pump — we’ll walk you through what changes before anyone commits to anything.
If your build sits inside an owner-builder permit process, the Victorian Building Authority owner-builder guide covers the paperwork that has to be in place before we can pour, including who signs off on the pre-pour inspection.
Through the colder months, we prefer to get the slab down before the shed goes up. It dries better in the open air, and it means the crew isn’t chasing dry weather between wall sheets. In summer either sequence works — the concrete goes off regardless. If your shed builder can’t wait, we can also do an infill pour after the frame is up, boxed around the wall iron so the finish comes right up to the edge cleanly.
"In winter, we've been at sheds poured at 7 in the morning and still finishing at 11 that night. Definitely, through winter we try and do the slab first."
— Leigh Whyte
Why we don't quote a shed slab over the phone
Because we can’t see the block.
A slab is only as good as the ground underneath it — and every block is different. Access, the state of the ground, how much site cut and fall it needs, the thickness and finish you’re after, all change the number. So instead of guessing over the phone, we come out, look at the job properly, and give you a straight price in writing.
No obligation to go ahead, and no charge if you decide it’s not the right time. If you’d like to see a straightforward suburban shed slab from prep to finish, we’ll be linking through to a full case study once it’s published (coming as part of this series).
One concreter, earthworks to finish
The reason we can price a shed slab honestly — earthworks, footings, pour and finish — is that we do the whole job ourselves.
We own our bobcat, excavator and tipper, so the site prep and the concreting aren’t two separate quotes from two separate trades. It’s one team, one point of contact, and one accountable operator from the day the block is measured to the day the slab is ready for the shed builder.
That also means proper site prep — the bit under the slab that most concreters leave to someone else — is built into the price from the start, not tacked on later.
Written from a workshop conversation with Leigh Whyte — 23 years on the tools in Central Victoria.
The range of shed slabs behind the number
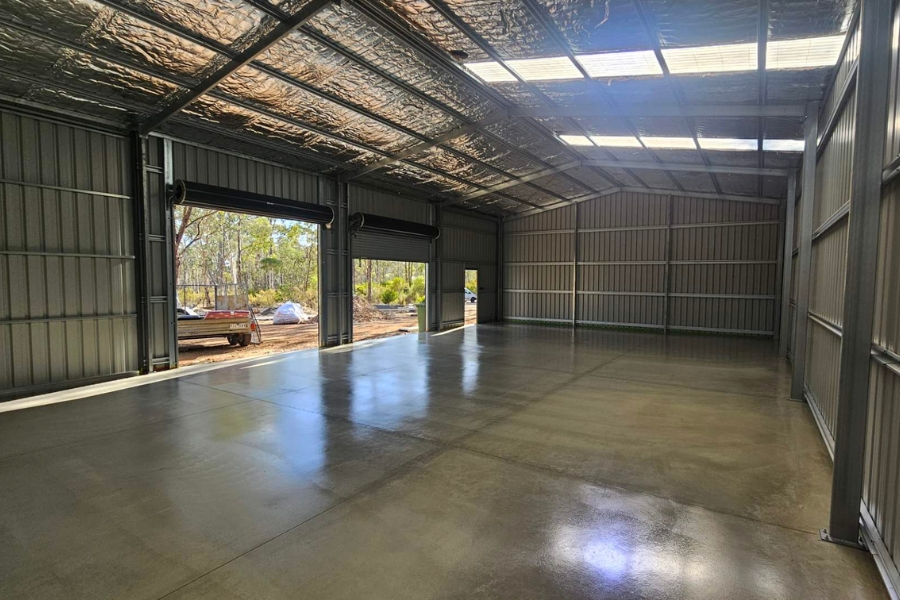
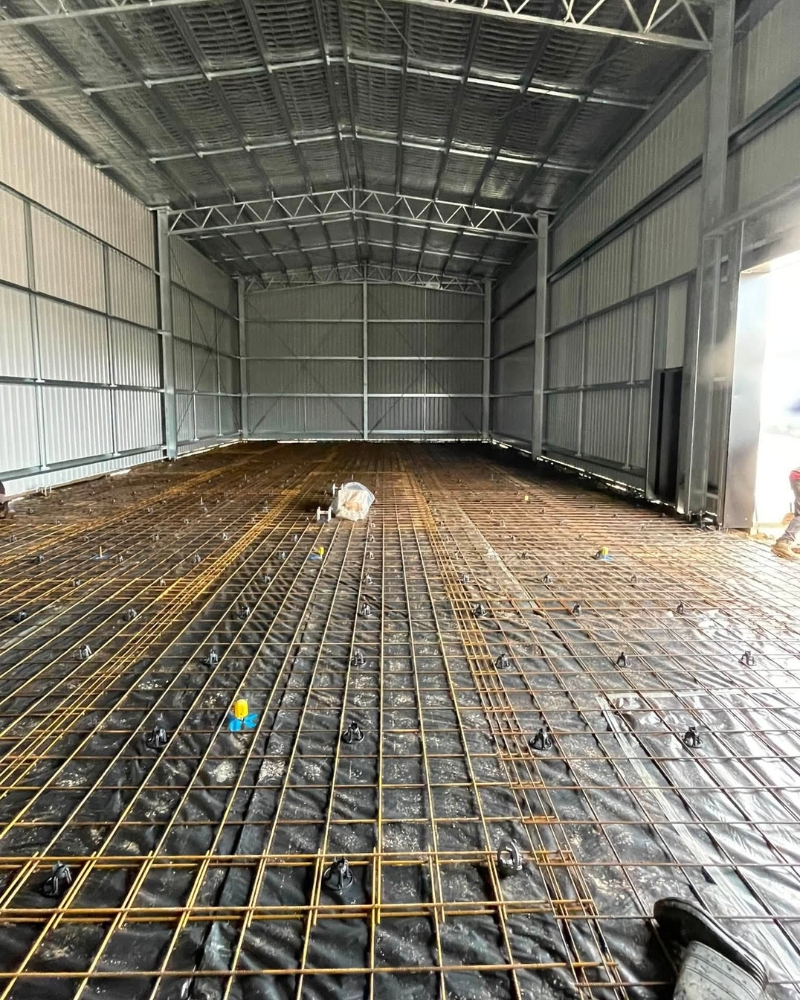
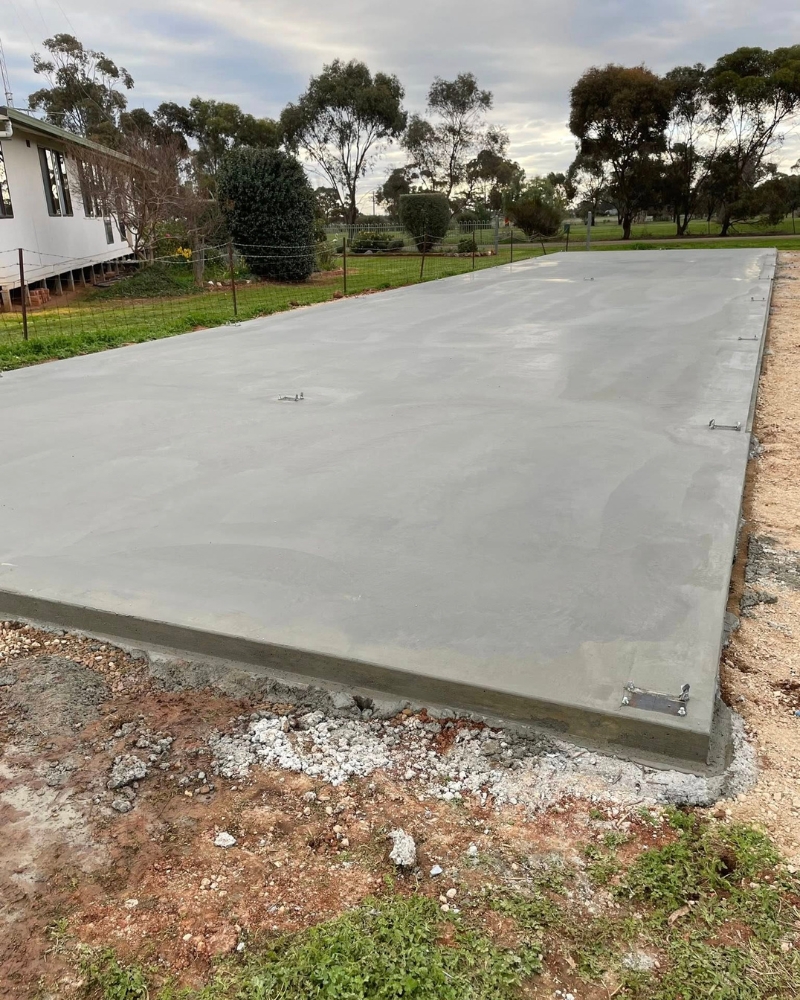
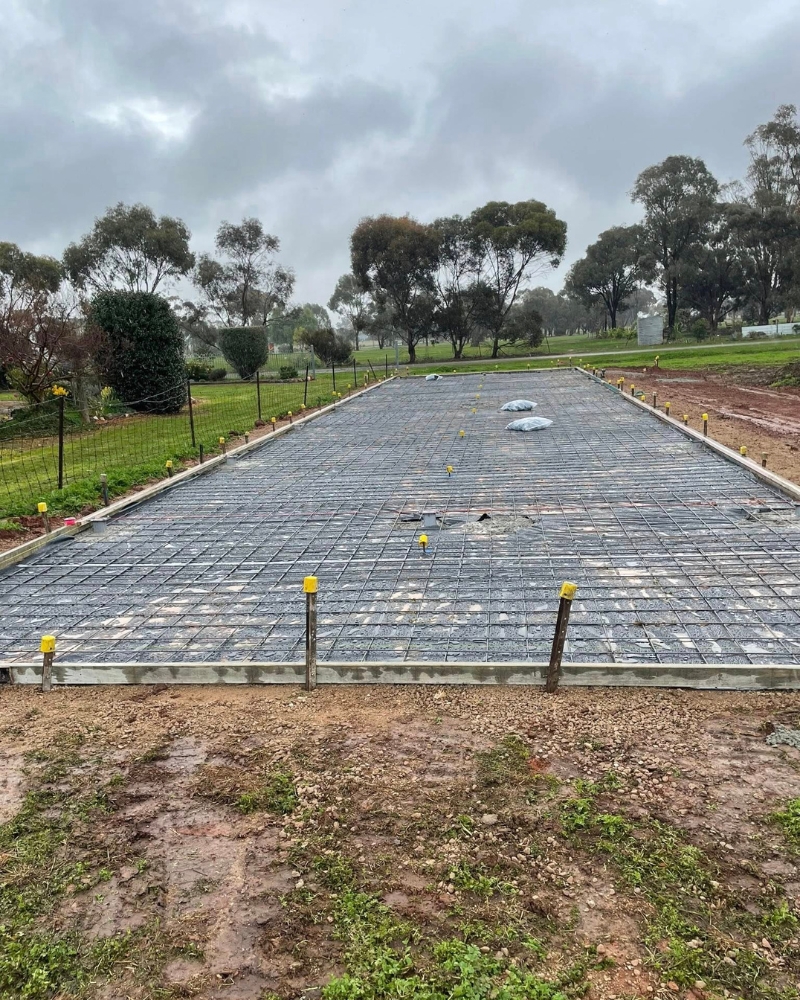
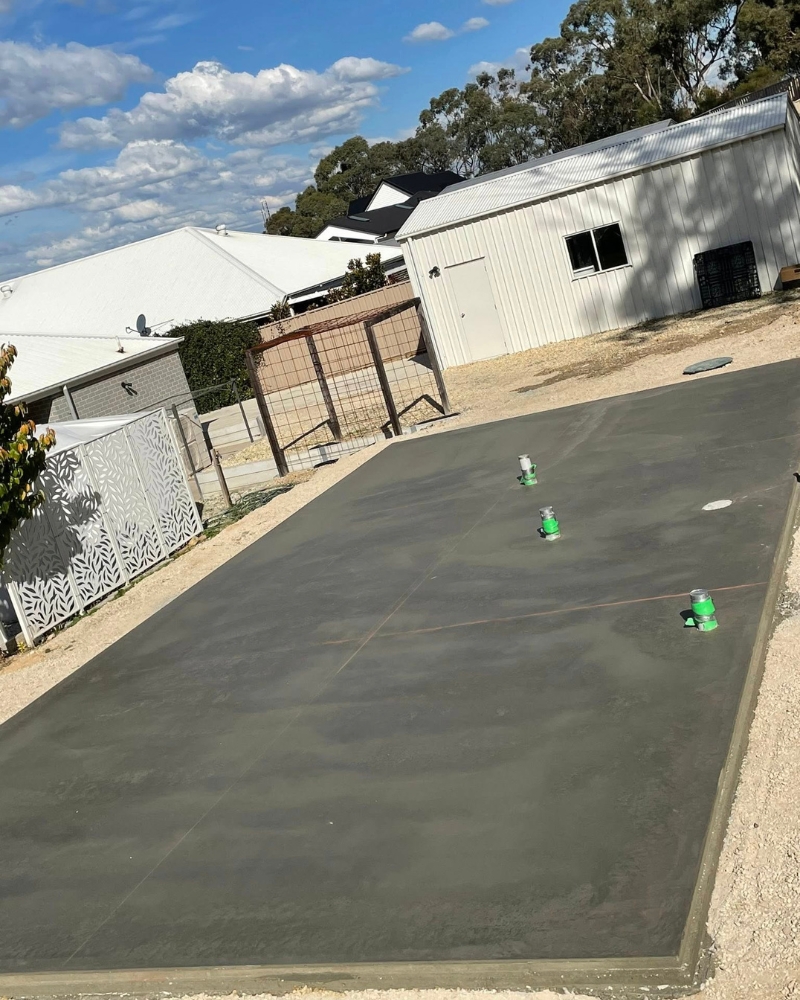
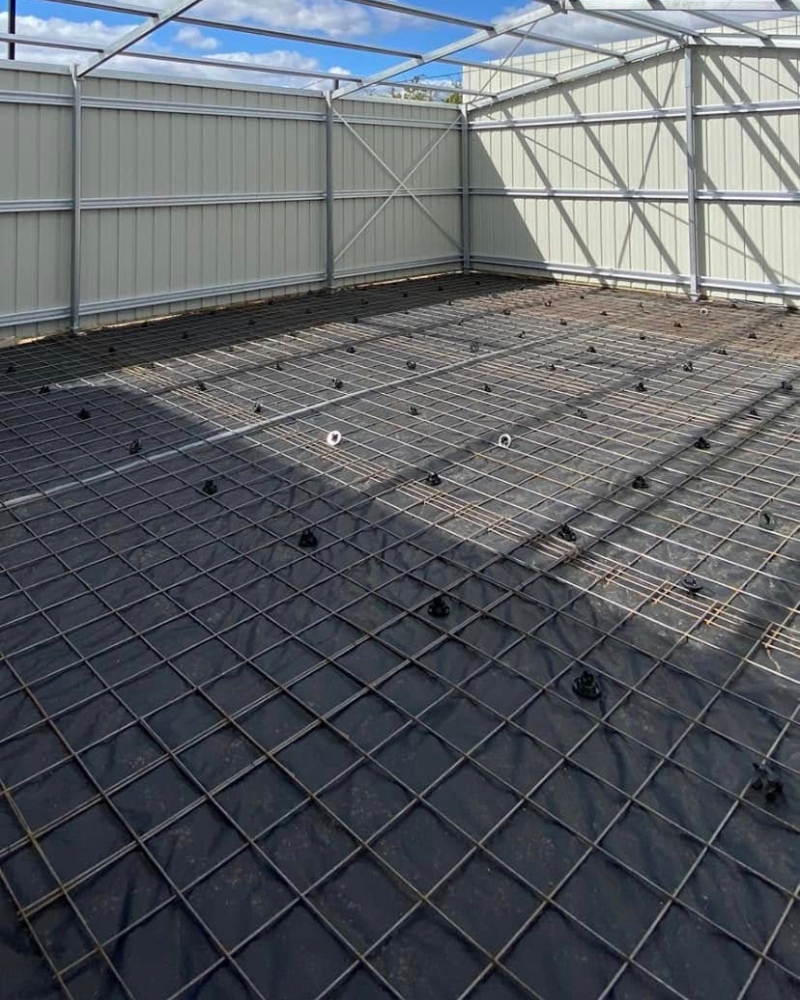
Every shed slab below started with the same process: a look at the block, a read of the engineering sheet, and a straight price in writing. Plain slabs, infill pours, winter prep and quiet Sunday finishes — a look at the range we handle across Bendigo and Central Victoria.



Bought the shed? Get a real number for the slab.
Send us your plans or engineering specs and book a free, no-obligation site inspection. We’ll prep the site and pour a dead-level slab — one job, one team, done right.
Frequently asked questions
If your question isn’t here, send it through and we’ll answer it on the phone.
How much does a shed slab cost in Bendigo?
There’s no single figure. Shed slab cost in Bendigo depends on the size of the shed, the state of your block, the footing depth on your engineering sheet, and how well a concrete truck can access the site. Two identical sheds on different blocks can come in at very different prices.
Why can't you quote a shed slab over the phone?
Because a quote based on the wrong information is worse than no quote at all. We need to see the engineering sheet from the shed supplier, understand the block, and check the access before we can give you a straight number in writing. The site inspection is free with no obligation.
Do I need footings for a shed slab?
Yes — every kit shed’s engineering sheet specifies footings. Depth varies significantly by shed brand: a typical Safety Steel spec is around 700mm deep at 450mm diameter, while some Best Sheds specs call for a metre to 1.5 metres. Skipping or shortcutting footings puts the whole build at risk.
What is the right concrete slab for shed thickness?
That’s set by the engineering sheet, not a rule of thumb. Most kit-shed slabs sit at 100–125mm through the field, with thicker edges and footings to spec. Always work to your specific engineering sheet rather than a general number.
Should I get the slab poured before or after the shed goes up?
In winter, we prefer to pour the slab first — it dries better and doesn’t get chased by the weather. In summer, either sequence works because the concrete goes off regardless. If the shed builder can’t wait, we can also do an infill pour once the frame is up.